Hi everyone! Have you ever made one of these? I've been making them for years. It's so fun and easy to change the look of a composition notebook. Plus they come in all sizes and shapes so you can create a set of them if you want. I especially love the ones with graph paper inside so that you can use your decorated creation as a sketch notebook for projects. The tiny ones are great to carry around in your purse. If you would like to see how I decorated this one, please scroll down and follow along with me.

You can use so many great things to decorate these notebooks, but this time I'm sticking with card stock and patterned paper. With stamps you can change the look of plain paper in a jiffy.

My project started it's life as this little black and white number below.

I was wanting to use this stamp set that I got from Archiver's. I love that the large floral, in the label shape, matches the small floral sprig, in the upper left corner. I will use these matching stamps to create my project.

When I'm decorating one of these notebooks I like the front cover and the back cover to be the same. So I chose two sheets of green card stock in the same shade. I also chose some patterned paper, white card stock and some cute green Thickers. The ribbons I will decide on, for sure, at the end of the project. These are my top two contenders.

I'm ready to get started, so I have my small floral sprig stamp mounted on a clear block and some VersaMark ink ready to go. I want the background to match, but still be subtle. That is why I chose the water mark ink.

I want the floral sprig to cover the whole background of the front cover, so I am stamped the flowers over and over again. I'm started at the top of the page on the right and went down the side making vertical row of stamped images. Each time I stamped the image I rotated the stamp. So at the top I started with the image being right side up, then I turned to the right. It looks like the image is tumbling down the page. I even went off the edges a tiny bit. I wanted it to look like wrapping paper or fabric, with the images printed all over the entire expanse of the background. It's a little hard to see below, but scroll down farther and see a larger photo.

See it?

OK, so I did that to both pieces of green card stock. Then I set those aside so that the VersaMark could dry and darken up a bit.

Next I got out my trusty red-line tape. I love this stuff for this type of project. I wanted an adhesive that was dry, so that the cover of the notebook doesn't bow or warp. It needed to be strong enough so that the paper doesn't peel up after you start to use the notebook. This red-line tape is so strong! I was also worried because the cover of the notebook is slick and the card stock isn't. If I were to use Mono Adhesive or some other dry line adhesive in a dispenser, the layers might let go over time.

I put the red line tape all around the four sides of the notebook and then one line through the middle. That will hold it perfectly. I put the tape as close to the edge as I can. Then there won't be any lifting up at the edge. I don't put the tape on the card stock. An 8 & 1/2" by 11" sheet of card stock is larger than the cover of the notebook. It's easier to put the adhesive on the notebook and then lay your paper on top. Then the adhesive grabs hold and you don't have to try to trim away the excess with any of that strong tape gumming up your knife.

Soooo anyway...I get it all on the front and then peel up the red backing.

Then I laid down the card stock nice and straight. By nice and straight, I mean that it lines up with the black part that covers up the notebook binding. Be super careful at this step. The red line tape is so strong, if you get it crooked or have any lumps, you will never get that paper back up in order to fix it. So go slow. I didn't cover that black part up on this notebook, I left it as it was. You could cover the black binding and create some paper, wide ribbon, fabric or some other fabulous stuff to cover it up, but this time I didn't.

Then I smoothed it with my bone folder. I do this every time I adhere something down to the project. I don't want bubbles, so I flatten and press each layer down.

Here is the notebook flipped over. As you can see the card stock is larger than the notebook. Here I will open the notebook and trim away the extra card stock with my craft knife and metal edged ruler.

I line it up and slice it away.

Then there are these little triangles of green showing at the corners. You could leave them there, but I slice those away with the knife too.

Here is the front cover all trimmed up. Notice the scraps on the right? The fat ones will be bookmarks by tomorrow.

Next I will be adding the patterned paper. Isn't it fun?

Below you can see me lining up everything to try and decide how much of the patterned paper I will need. This is the only time in the project that I actually measured something. The rest of the time I eyeball it. I decided that the stamp measures about 3 & 1/2" so I want the dots to measure 4" tall.

Here I lined it up on the trimmer and sliced away.

I will be using double sided tape for the rest of the project. It works well for adhering paper to paper.

Then I smoothed it down with the bone folder and sliced the extra away.

Now I'm ready for more of my favorite part, the stamping. :-) I stamped the large framed flowers onto some white card stock with red, dye based ink.

I love clear stamps. You can line them up and not waste any card stock.

Then I cut out the stamped image. I cut right on the red line. I didn't' want any white to show around the edge.

Oh, and clean your stamp. I use baby bum wipes.

Now you can see how the label looked against the pattern. I felt like there was no separation. They were melting into each other too much. I found a black card stock scrap in my scrap bin....

Perfecto!

So I laid the cut out frame shape onto the black card stock in the trimmer and trimmed around it. Then I got out my trusty corner rounder and rounded the edges. This corner rounder is a large one.

Much better, don't you think? It matches the binding nicely.

Now I'm ready for the Thickers. I was going to have it say, "Notes", but I discovered that none of my packs of Thickers had a "T". So "Diary" it will be. I like to start in the middle, and then spell the word out wards from there. Then you know your word will be centered correctly at the end.

See?

Now it's time for the closure. I will be using ribbon this time. I have, in the past used ribbon and paper with magnets and Velcro. It all works great. This time I want to tie it shut with some pretty ribbon. These three look like promising contenders. I decided to use black eyelets, so I excluded the black and white ribbon. The check looked wrong against the dotted paper. Red it is!

To attach the ribbon to the front and back cover I punched a hole through the ribbon and cover at the same time with my Crop A Dile. Then I used an eyelet to keep it all in place. Because the ribbon is so thin, I decided to fold it over and punch the hole through two layers, in order to keep the ribbon strong.

Here we go. It isn't comming off. Ever.

I did the same thing on the back cover. If you dont' like the edge of the ribbon showing you could have it on the inside of the cover. Then I tied the bow and trimmed my excess ribbon away.

OK, at this point I looked at my project and decided it needed a little something more, so I pulled out the gems. Pearls are my favorite, so of course I went for them first. ;-)

There were plent of flowers to add them to. Hee Hee.

At this point I want to say that you might notice as you fill in your notebook that writing on top of the Thickers and gems might be awkward. If you don't like lumpyness, keep your project flat. I hope you enjoyed this and got some ideas for your own project. Thanks for looking.
 You can use so many great things to decorate these notebooks, but this time I'm sticking with card stock and patterned paper. With stamps you can change the look of plain paper in a jiffy.
 My project started it's life as this little black and white number below.
 I was wanting to use this stamp set that I got from Archiver's. I love that the large floral, in the label shape, matches the small floral sprig, in the upper left corner. I will use these matching stamps to create my project.
 When I'm decorating one of these notebooks I like the front cover and the back cover to be the same. So I chose two sheets of green card stock in the same shade. I also chose some patterned paper, white card stock and some cute green Thickers. The ribbons I will decide on, for sure, at the end of the project. These are my top two contenders.
 I'm ready to get started, so I have my small floral sprig stamp mounted on a clear block and some VersaMark ink ready to go. I want the background to match, but still be subtle. That is why I chose the water mark ink.
 I want the floral sprig to cover the whole background of the front cover, so I am stamped the flowers over and over again. I'm started at the top of the page on the right and went down the side making vertical row of stamped images. Each time I stamped the image I rotated the stamp. So at the top I started with the image being right side up, then I turned to the right. It looks like the image is tumbling down the page. I even went off the edges a tiny bit. I wanted it to look like wrapping paper or fabric, with the images printed all over the entire expanse of the background. It's a little hard to see below, but scroll down farther and see a larger photo.
 See it?
 OK, so I did that to both pieces of green card stock. Then I set those aside so that the VersaMark could dry and darken up a bit.
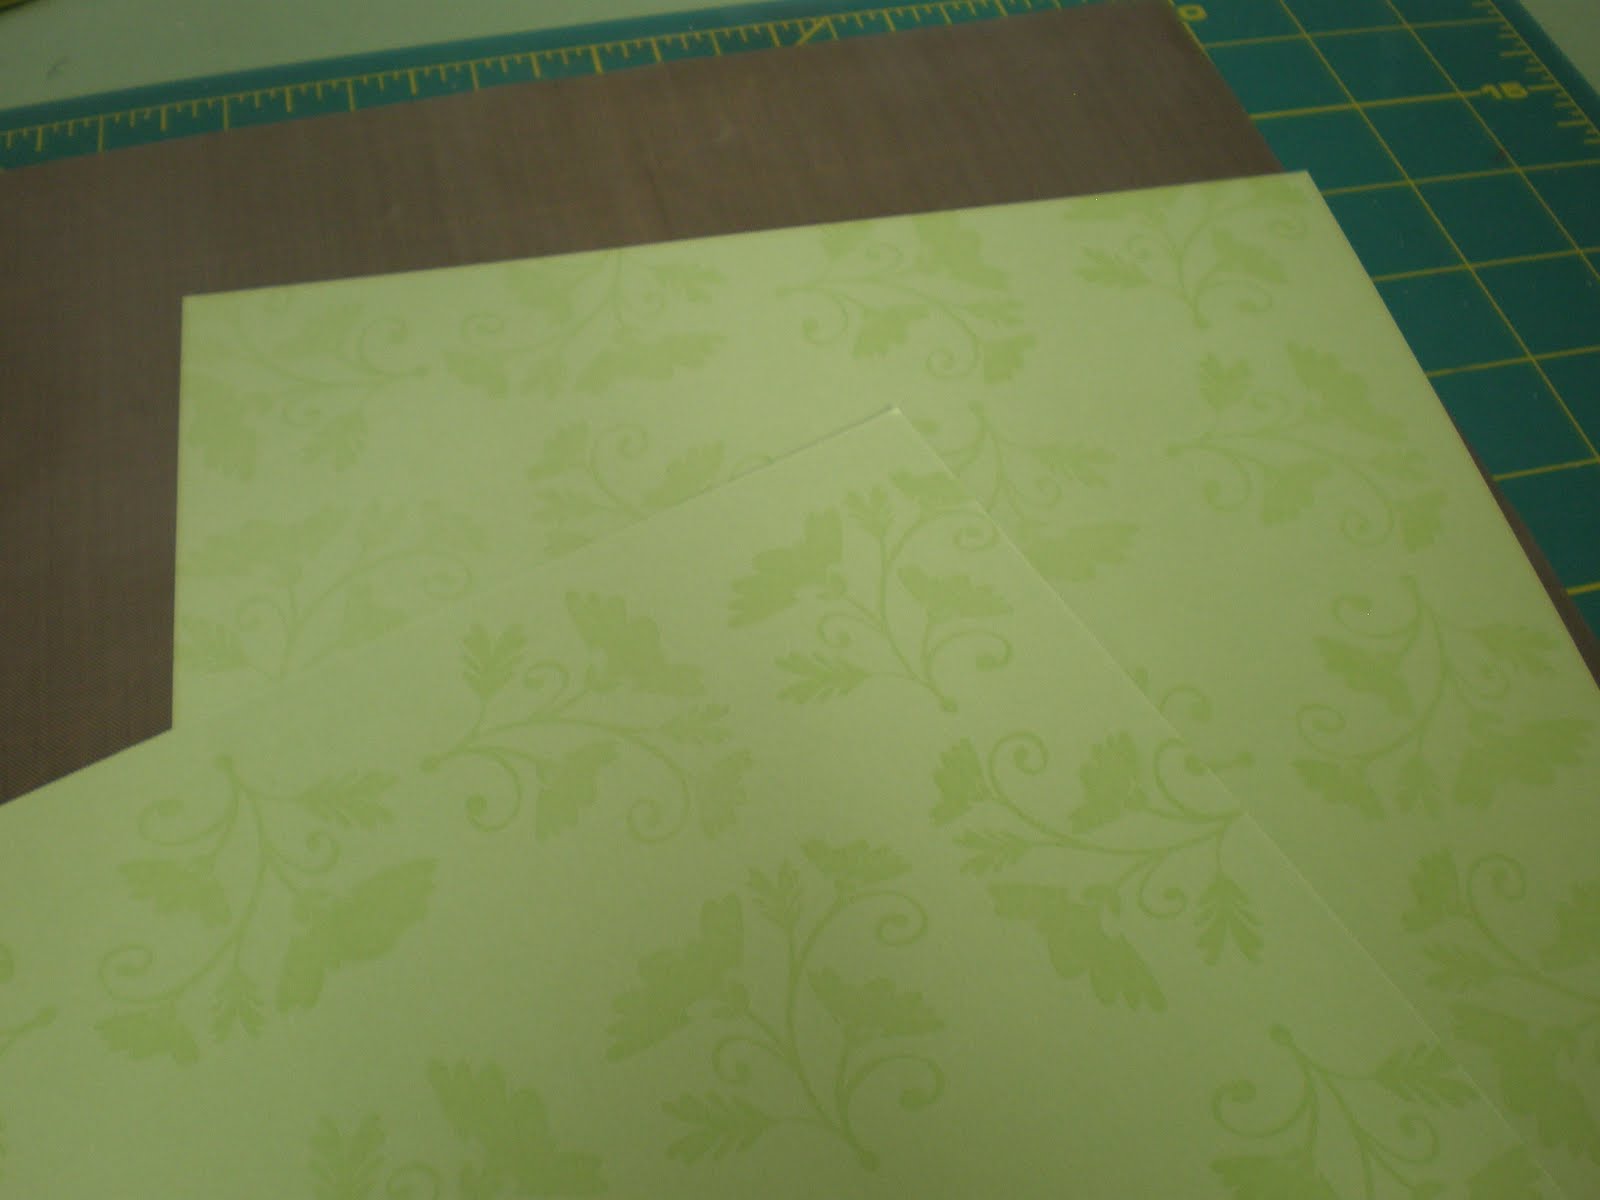 Next I got out my trusty red-line tape. I love this stuff for this type of project. I wanted an adhesive that was dry, so that the cover of the notebook doesn't bow or warp. It needed to be strong enough so that the paper doesn't peel up after you start to use the notebook. This red-line tape is so strong! I was also worried because the cover of the notebook is slick and the card stock isn't. If I were to use Mono Adhesive or some other dry line adhesive in a dispenser, the layers might let go over time.
 I put the red line tape all around the four sides of the notebook and then one line through the middle. That will hold it perfectly. I put the tape as close to the edge as I can. Then there won't be any lifting up at the edge. I don't put the tape on the card stock. An 8 & 1/2" by 11" sheet of card stock is larger than the cover of the notebook. It's easier to put the adhesive on the notebook and then lay your paper on top. Then the adhesive grabs hold and you don't have to try to trim away the excess with any of that strong tape gumming up your knife.
 Soooo anyway...I get it all on the front and then peel up the red backing.
 Then I laid down the card stock nice and straight. By nice and straight, I mean that it lines up with the black part that covers up the notebook binding. Be super careful at this step. The red line tape is so strong, if you get it crooked or have any lumps, you will never get that paper back up in order to fix it. So go slow. I didn't cover that black part up on this notebook, I left it as it was. You could cover the black binding and create some paper, wide ribbon, fabric or some other fabulous stuff to cover it up, but this time I didn't.
 Then I smoothed it with my bone folder. I do this every time I adhere something down to the project. I don't want bubbles, so I flatten and press each layer down.
 Here is the notebook flipped over. As you can see the card stock is larger than the notebook. Here I will open the notebook and trim away the extra card stock with my craft knife and metal edged ruler.
 I line it up and slice it away.
 Then there are these little triangles of green showing at the corners. You could leave them there, but I slice those away with the knife too.
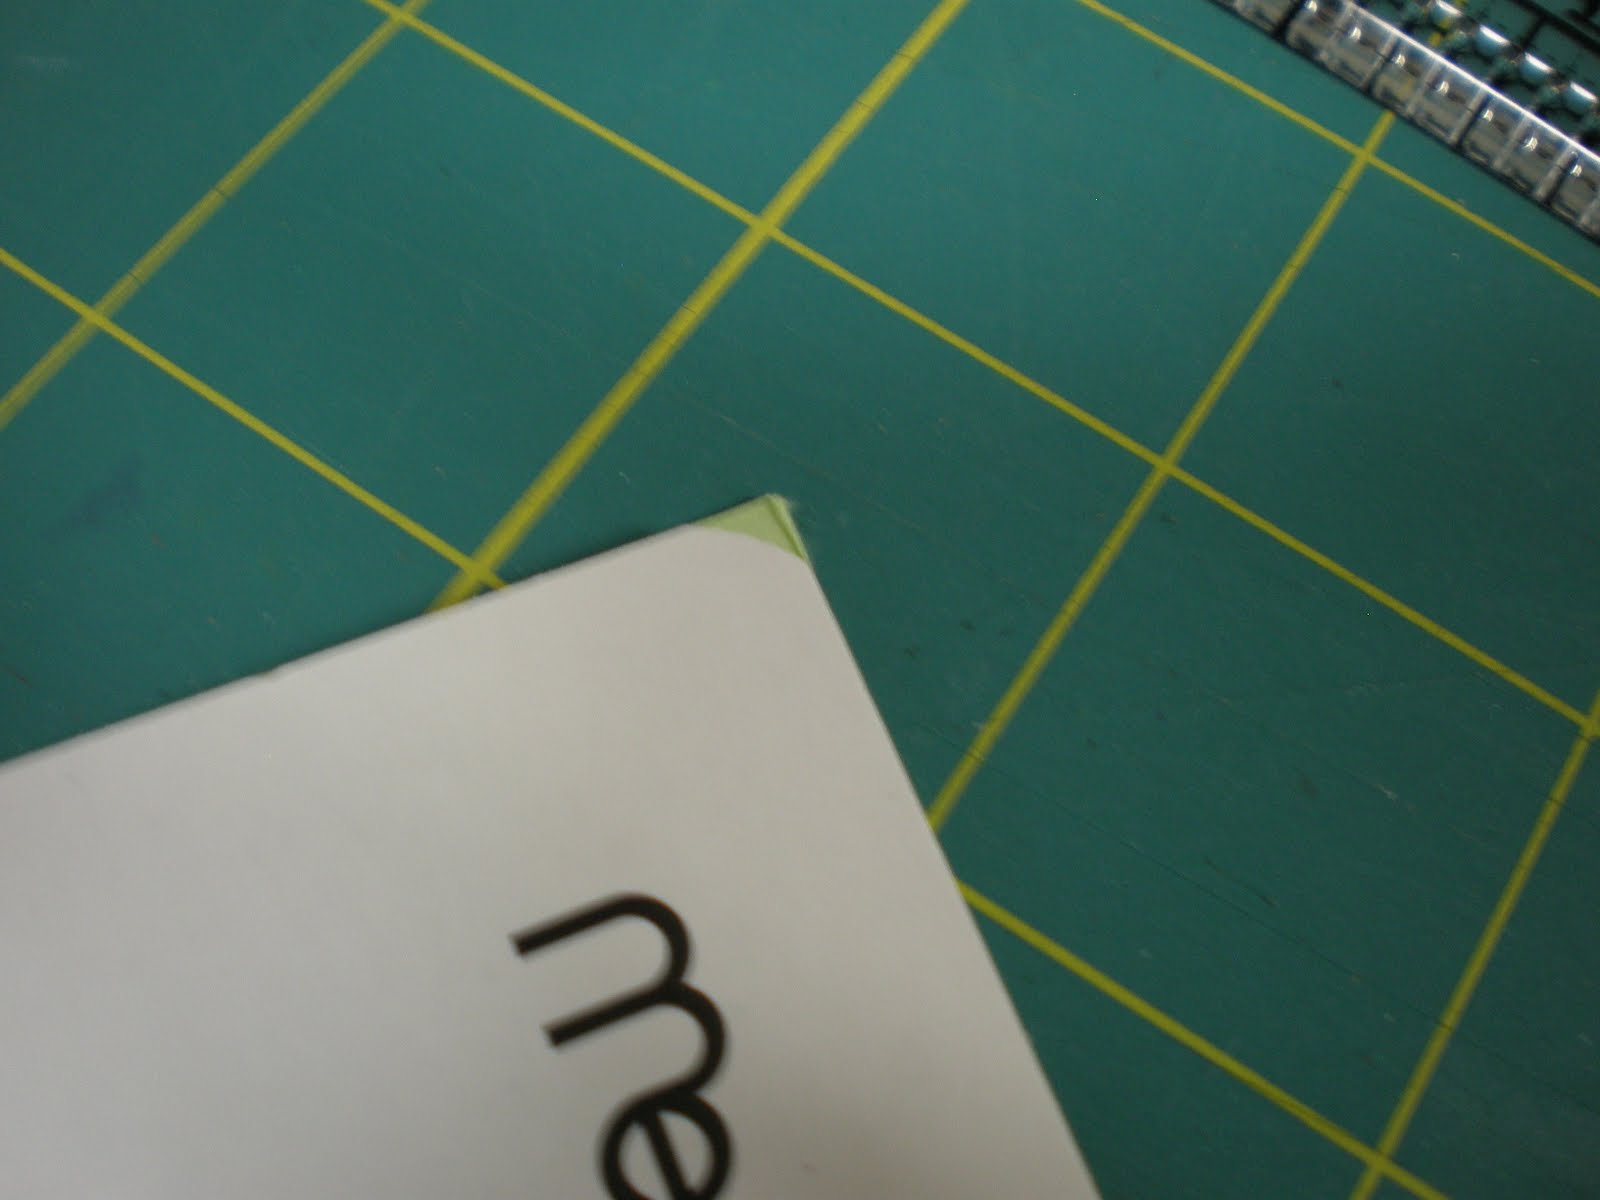 Here is the front cover all trimmed up. Notice the scraps on the right? The fat ones will be bookmarks by tomorrow.
 Next I will be adding the patterned paper. Isn't it fun?
 Below you can see me lining up everything to try and decide how much of the patterned paper I will need. This is the only time in the project that I actually measured something. The rest of the time I eyeball it. I decided that the stamp measures about 3 & 1/2" so I want the dots to measure 4" tall.
 Here I lined it up on the trimmer and sliced away.
 I will be using double sided tape for the rest of the project. It works well for adhering paper to paper.
 Then I smoothed it down with the bone folder and sliced the extra away.
 Now I'm ready for more of my favorite part, the stamping. :-) I stamped the large framed flowers onto some white card stock with red, dye based ink.
 I love clear stamps. You can line them up and not waste any card stock.
 Then I cut out the stamped image. I cut right on the red line. I didn't' want any white to show around the edge.
 Oh, and clean your stamp. I use baby bum wipes.
 Now you can see how the label looked against the pattern. I felt like there was no separation. They were melting into each other too much. I found a black card stock scrap in my scrap bin....
 Perfecto!
 So I laid the cut out frame shape onto the black card stock in the trimmer and trimmed around it. Then I got out my trusty corner rounder and rounded the edges. This corner rounder is a large one.
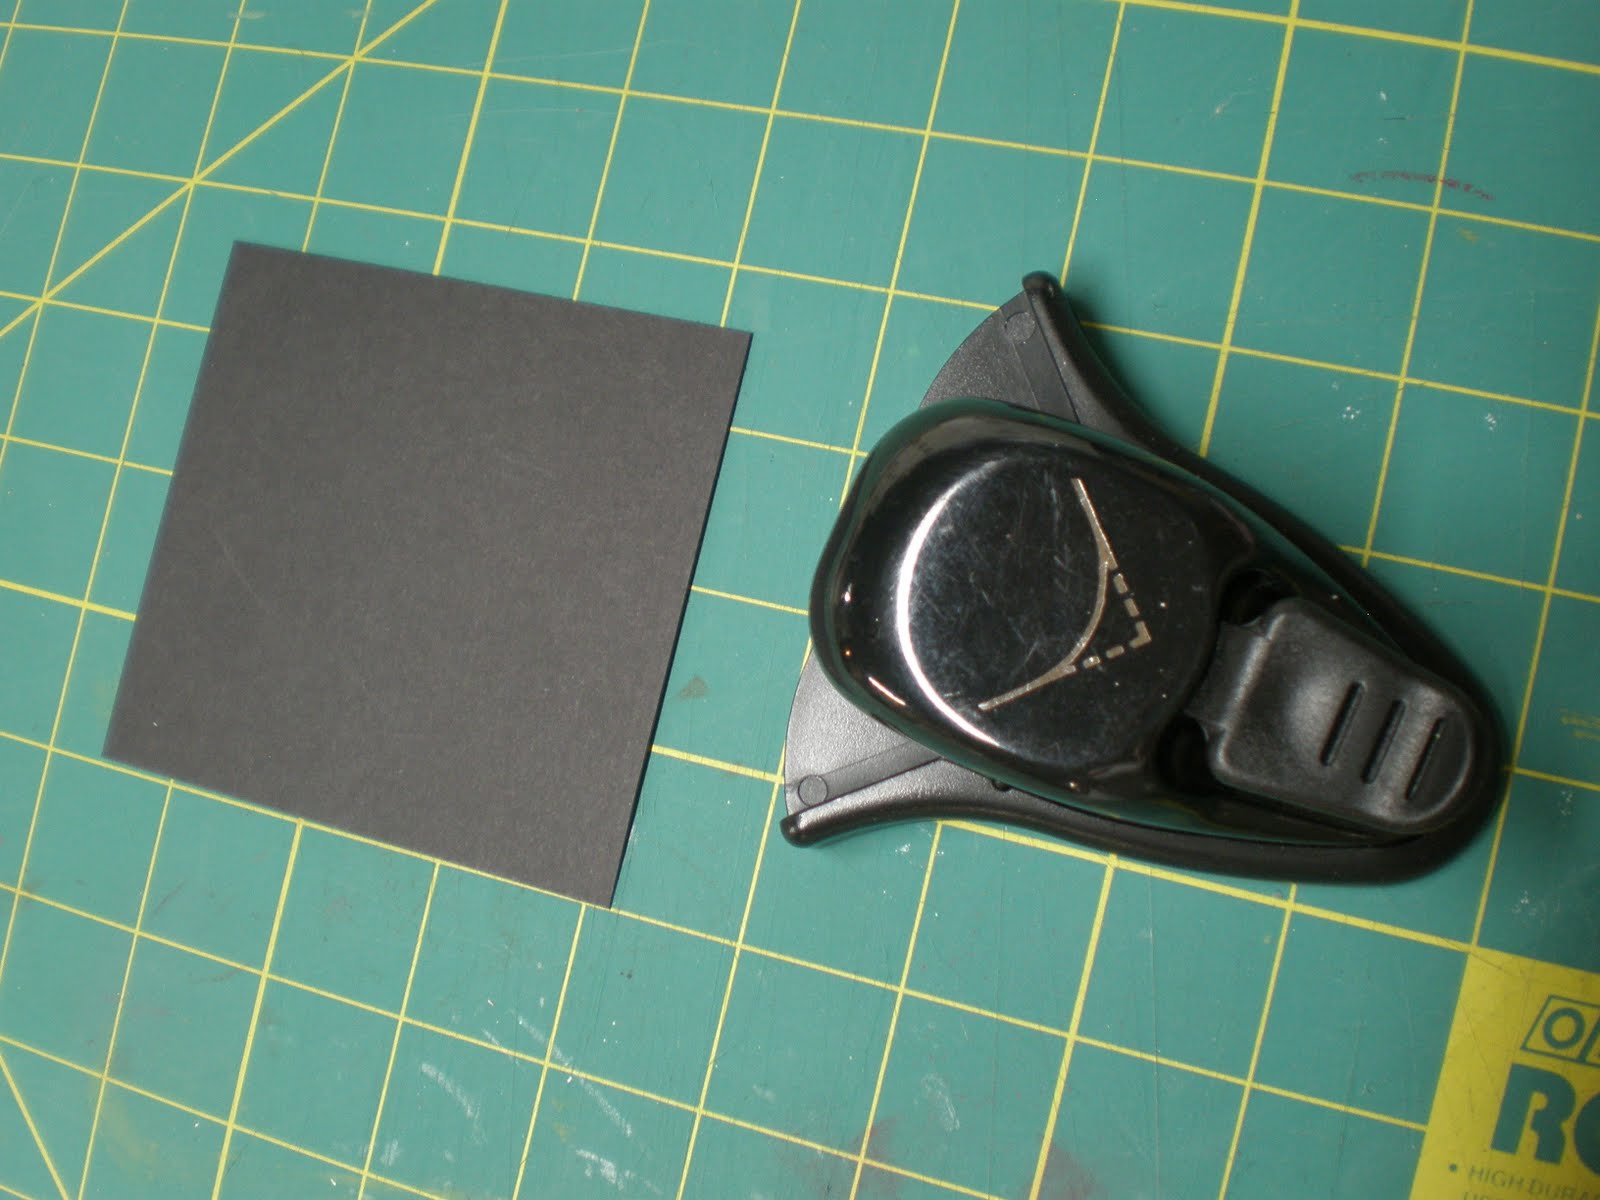 Much better, don't you think? It matches the binding nicely.
 Now I'm ready for the Thickers. I was going to have it say, "Notes", but I discovered that none of my packs of Thickers had a "T". So "Diary" it will be. I like to start in the middle, and then spell the word out wards from there. Then you know your word will be centered correctly at the end.
 See?
See? Now it's time for the closure. I will be using ribbon this time. I have, in the past used ribbon and paper with magnets and Velcro. It all works great. This time I want to tie it shut with some pretty ribbon. These three look like promising contenders. I decided to use black eyelets, so I excluded the black and white ribbon. The check looked wrong against the dotted paper. Red it is!
 To attach the ribbon to the front and back cover I punched a hole through the ribbon and cover at the same time with my Crop A Dile. Then I used an eyelet to keep it all in place. Because the ribbon is so thin, I decided to fold it over and punch the hole through two layers, in order to keep the ribbon strong.
 Here we go. It isn't comming off. Ever.
 I did the same thing on the back cover. If you dont' like the edge of the ribbon showing you could have it on the inside of the cover. Then I tied the bow and trimmed my excess ribbon away.
 OK, at this point I looked at my project and decided it needed a little something more, so I pulled out the gems. Pearls are my favorite, so of course I went for them first. ;-)
 There were plent of flowers to add them to. Hee Hee.
  At this point I want to say that you might notice as you fill in your notebook that writing on top of the Thickers and gems might be awkward. If you don't like lumpyness, keep your project flat. I hope you enjoyed this and got some ideas for your own project. Thanks for looking.
6 comments:
Great tutorial. Thanks for the clear cut process to follow.
This is gorgeous and thank for the wonderful tutorial Jess!
Great job... Thanks for the tutorial!
This is so cute!! I subscribed to your blog in my google reader so I will be watching for new updates :-D
You did a great job and thanks for the tutorial
Awesome project, you have added so many lovely details, I love the ribbon closure:-)
Post a Comment